These are construction progress photos of a joint effort renovation project with Yvonne Hidle from 2012 to 2017. After we sold the house to Iron Bridge Property Solutions they contracted with Home Tech Contracting and Remodeling Co. and the interior stylist Courtney Favini Lichty to finish up the rooms we were not able to complete, renovate the kitchen, re-paint a few of the rooms, stage it with nicer furniture, and fix up the exterior and backyard of the house for sale. In this post you will see before photos, what it looked like right before we sold the house, and the work Home Tech Contracting and Remodeling Co., Courtney Favini Lichty, and Iron Bridge Property Solutions did to finish up what we started.
This post is divided into three main sections, one for each of the three floors of the house. Each section is organized chronologically to give a sense of the house we started with, how we used architectural design to add value to the same amount of physical space, the result after our own personal physical labor, and then the final results after a professional contractor came in and finished up what we started.
1st Floor
The first section is the main floor of the house which, when finished, had a Living Room, Dining Room, Kitchen, and 1/2 Bath.
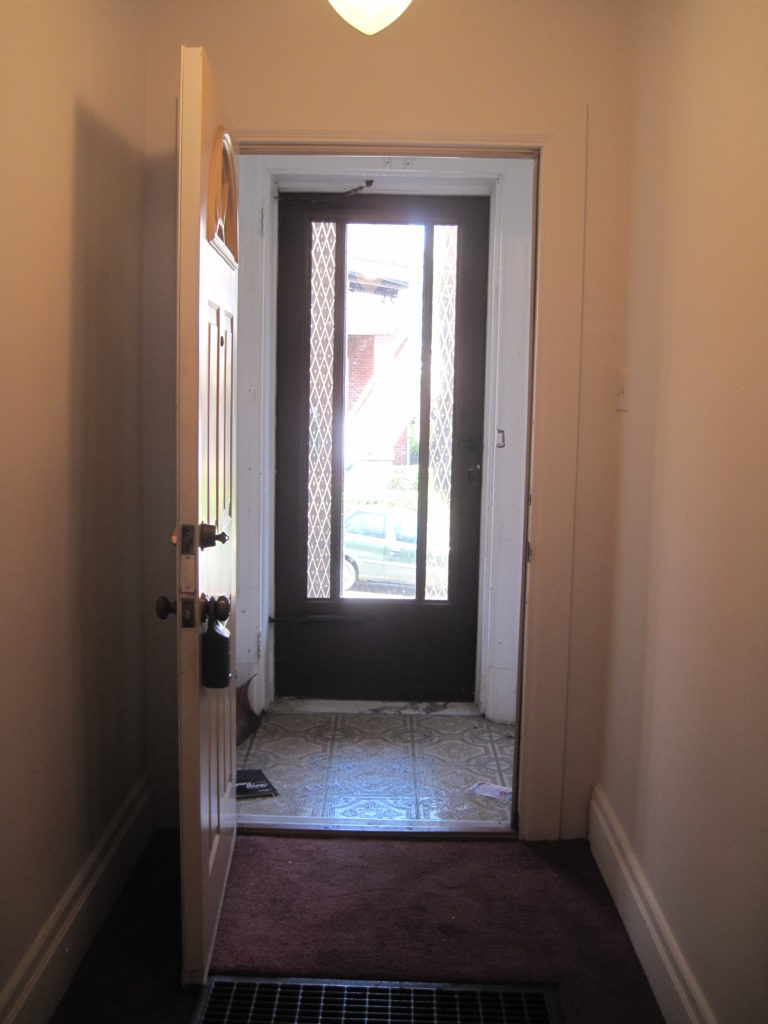
Main Entrance
Before the renovation the entire first floor living space was broken up into small dark rooms.
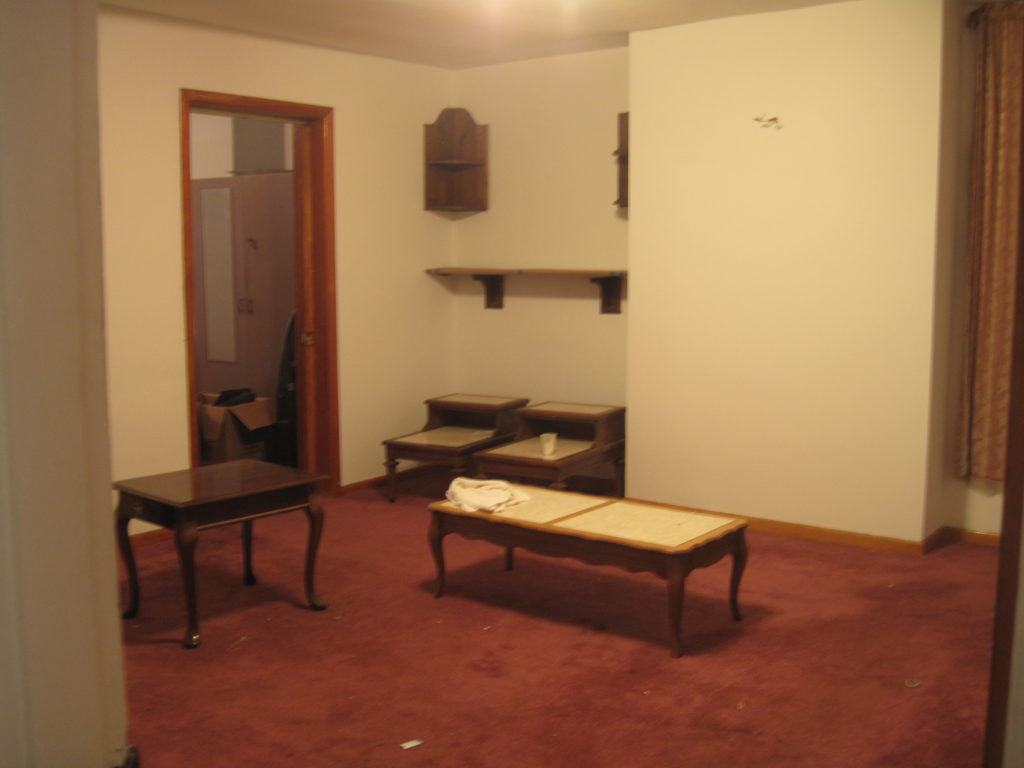
Living Room
Before we tore out the wall on the left, the low ceiling, and the main window to the living room the space was… a bit dated.
Dining Room
Oh what a dining room… Yeah. We were the first people to see potential in this house. It originally listed for $90k, was then dropped to $80k, taken off the market and finally listed at $70k when I first encountered it after it had been listed for over a year. We offered $60k and the offer was accepted.
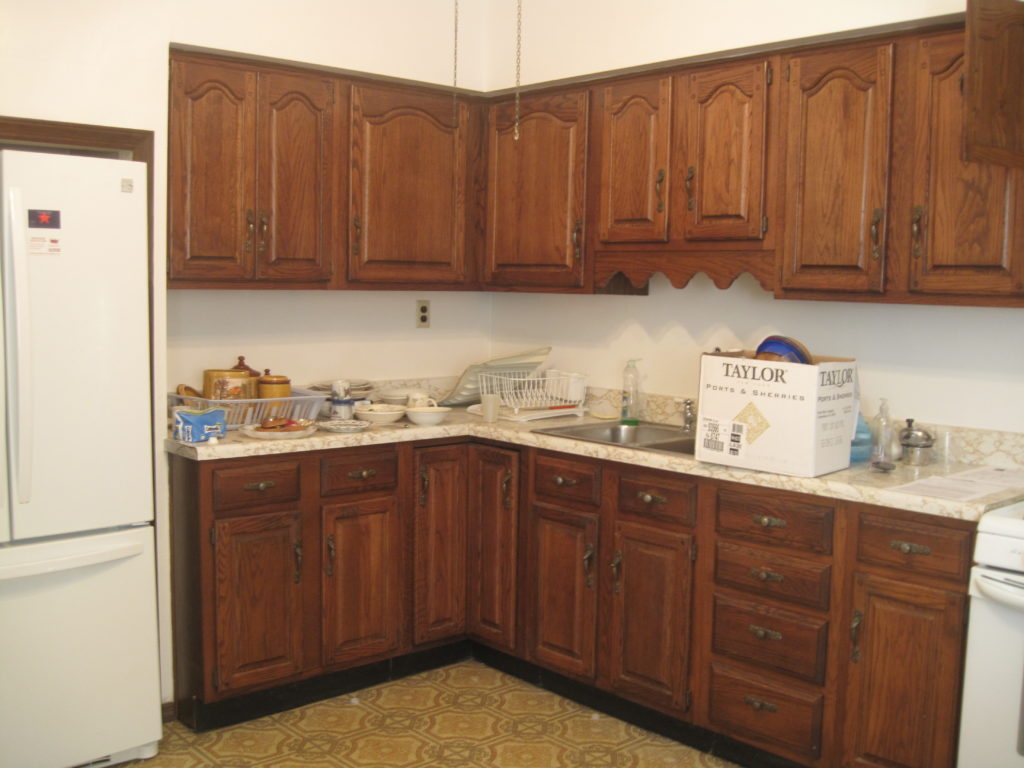
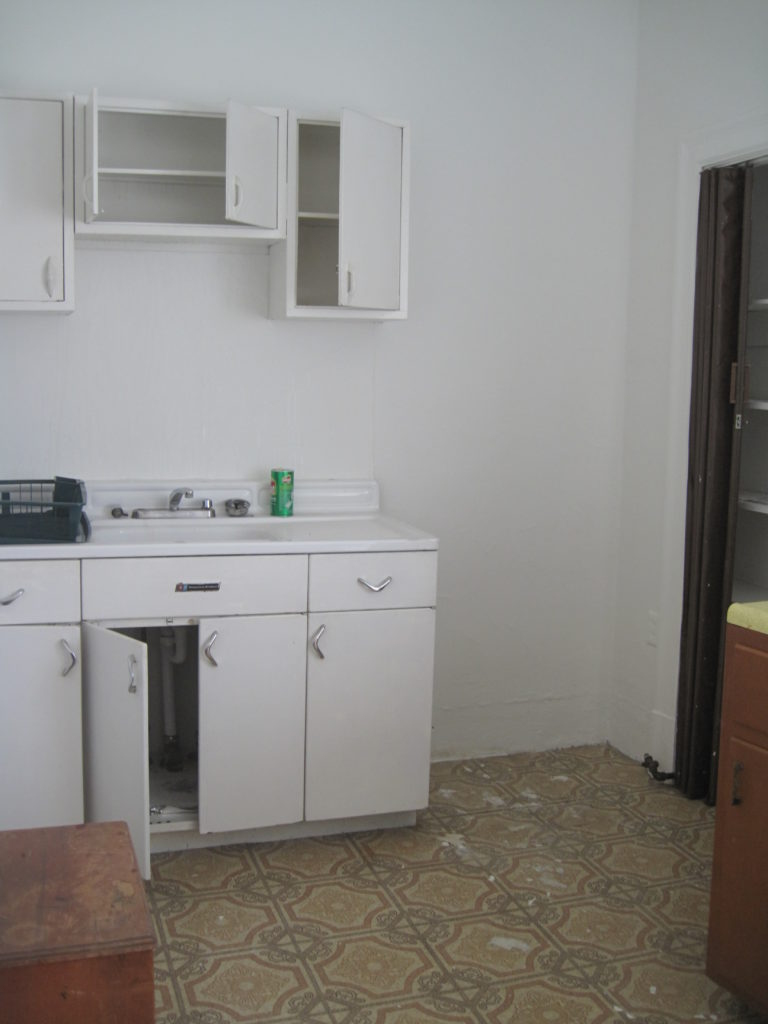
& Kitchen
Oh we mustn’t forget the state of the kitchen. Absolutely jaw dropping. You may not see it here but the refrigerator was plugged into an extension chord which was pulled through a hole drilled in the floor (and some joist) behind the refrigerator and plugged into an outlet in the basement…
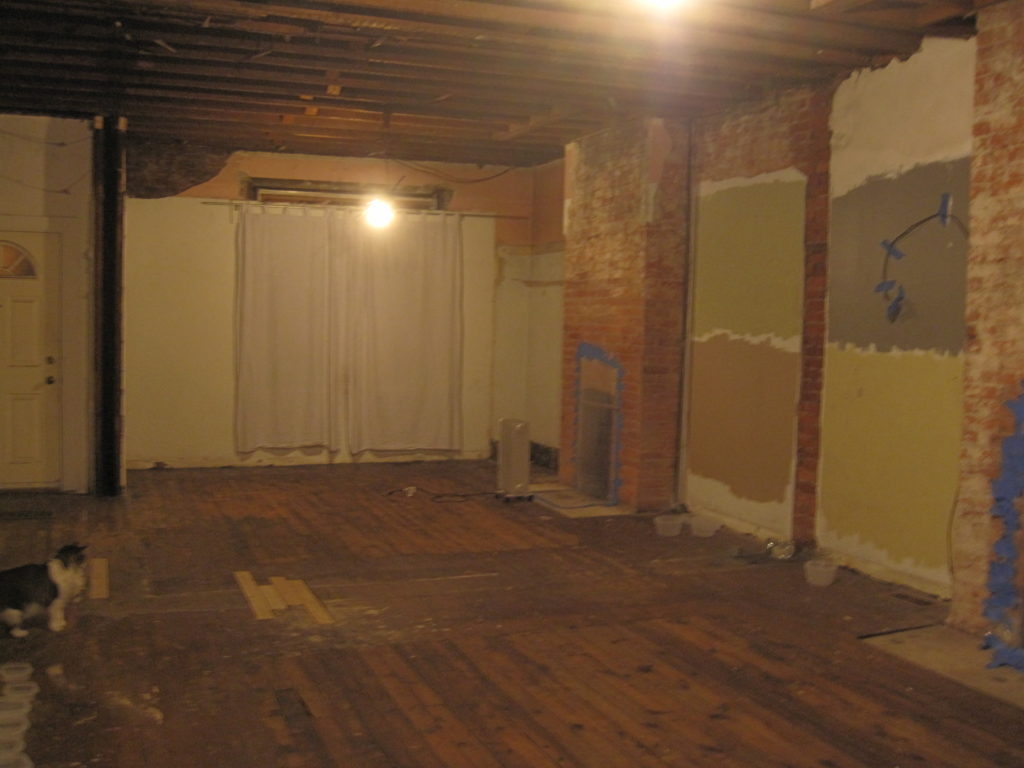
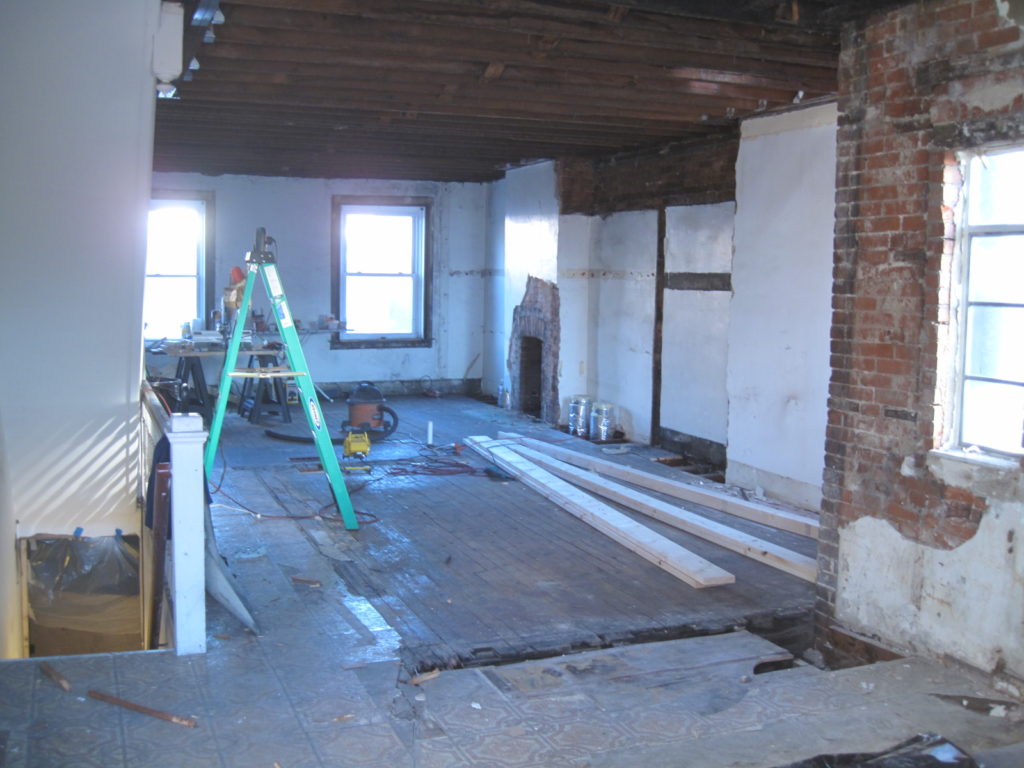
Commence destruction. On the left you can see what remained of the entrance vestibule at that point in time. You can also see a cat.

We removed all of walls on the first floor to open up the space. We also had to relocate plumbing and HVAC to eliminate as many walls as possible.
Once the destruction was complete we installed a window that took up the entire masonry opening, and built a coffered ceiling to disguise the duct work necessary to air condition the space. This is what the space looked like after we couldn’t deal with any more construction.

As you can see we opened up the entire first floor to let as much daylight into this deep dark space as possible and we installed a ton of lights to keep it feeling bright.
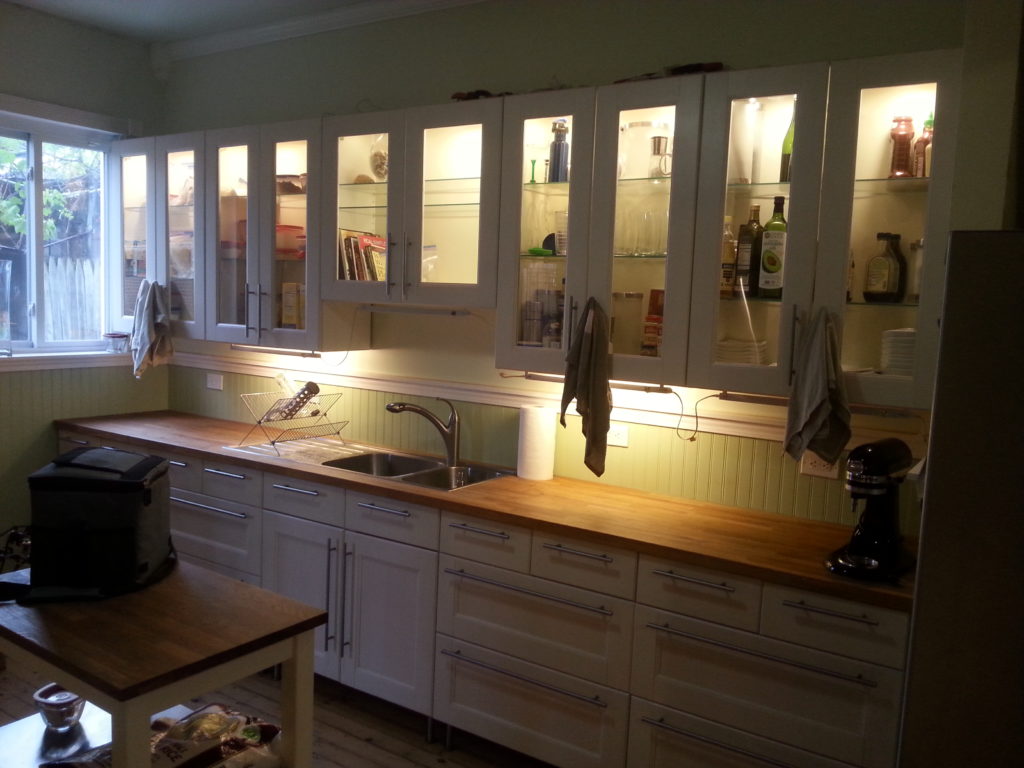
We of course fixed this. I am not proud of the colors but the layout was solid. We simply removed the wall that we could and pulled all the counters to the sides of the room to open it up to as much daylight as possible.
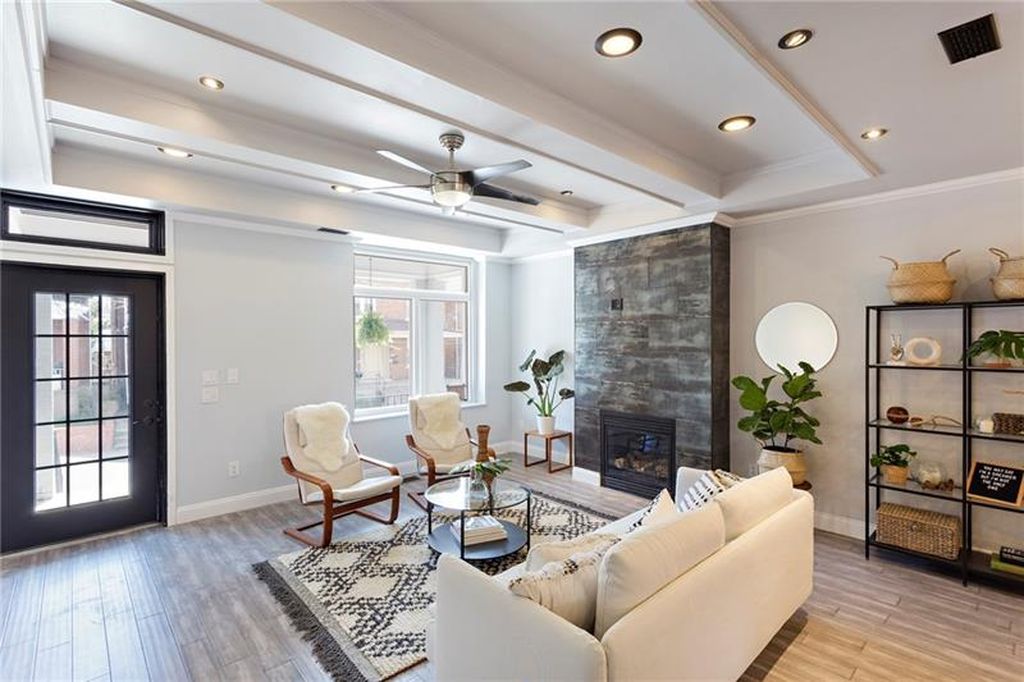
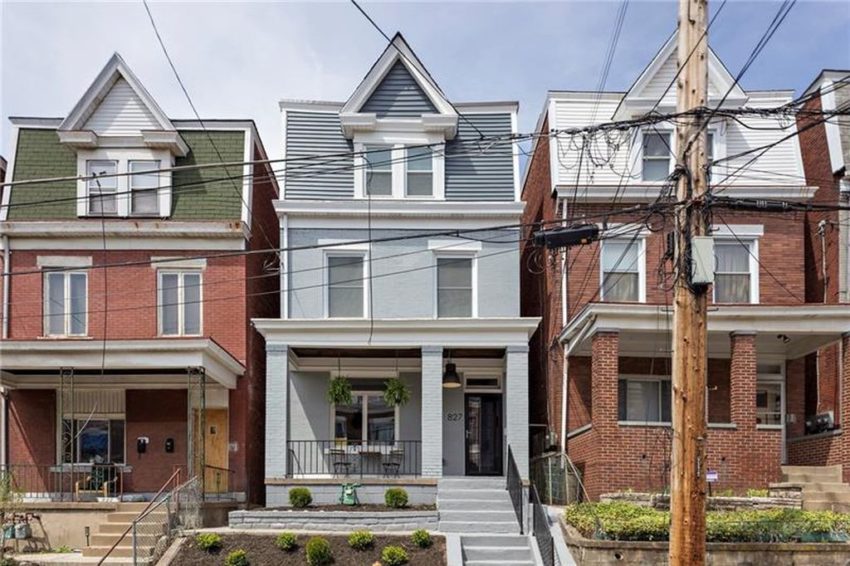
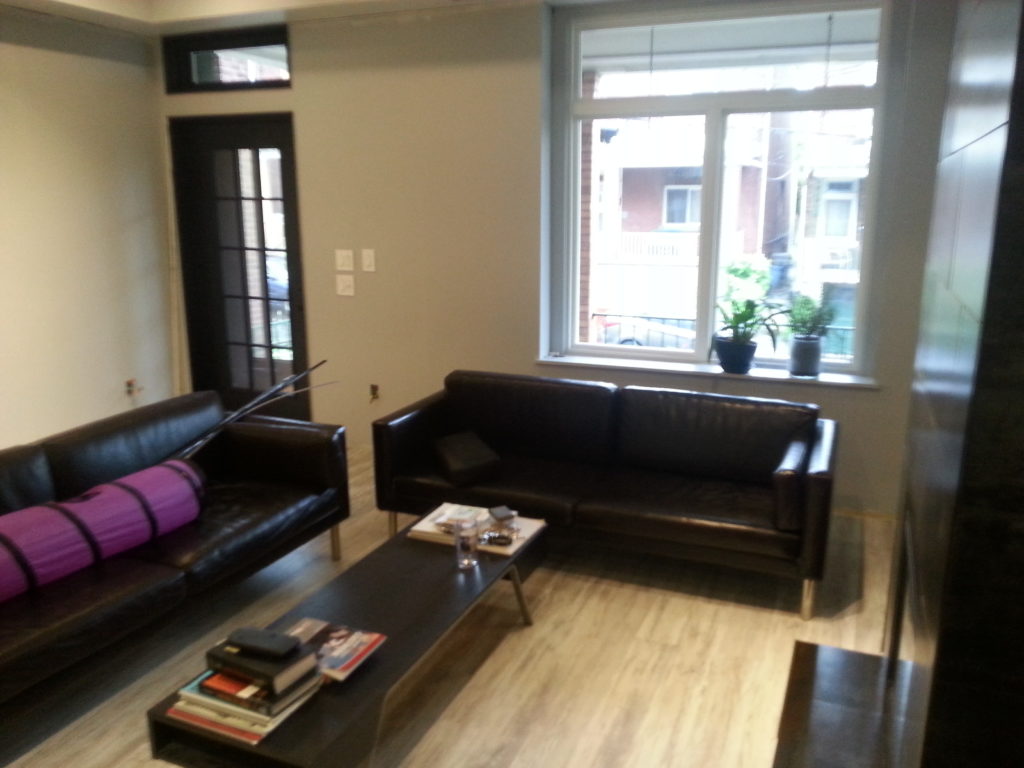
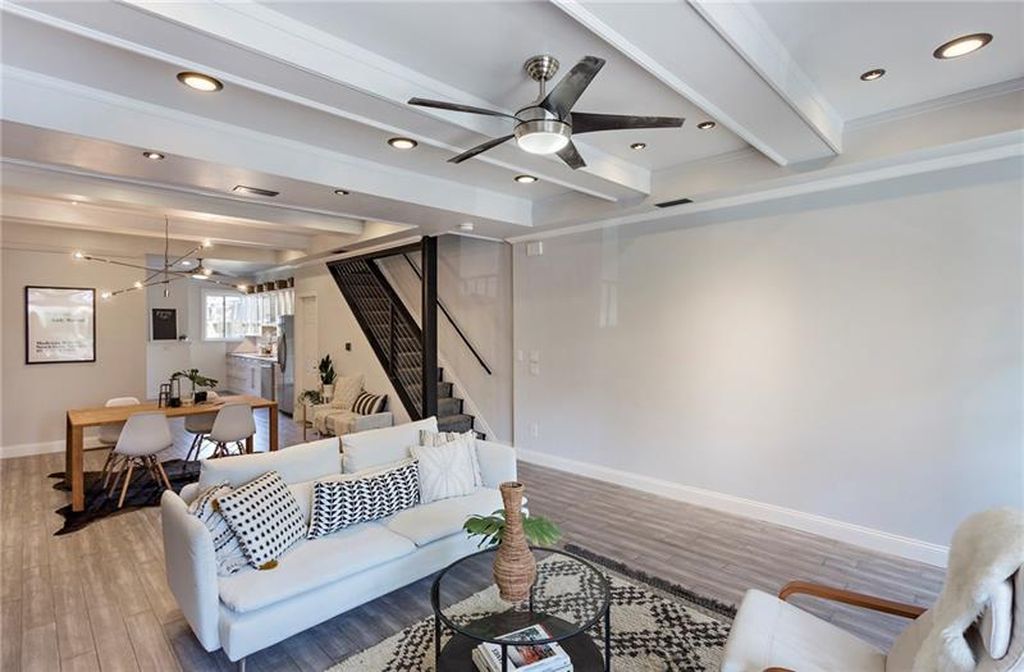
As you can see the contractor changed the floor, added crown molding and base trim, and picked much nicer furniture but all the paint, light fixture trims, air terminal trims, tile fireplace, ceiling fan, coffered ceiling, and etc. is as we left it.
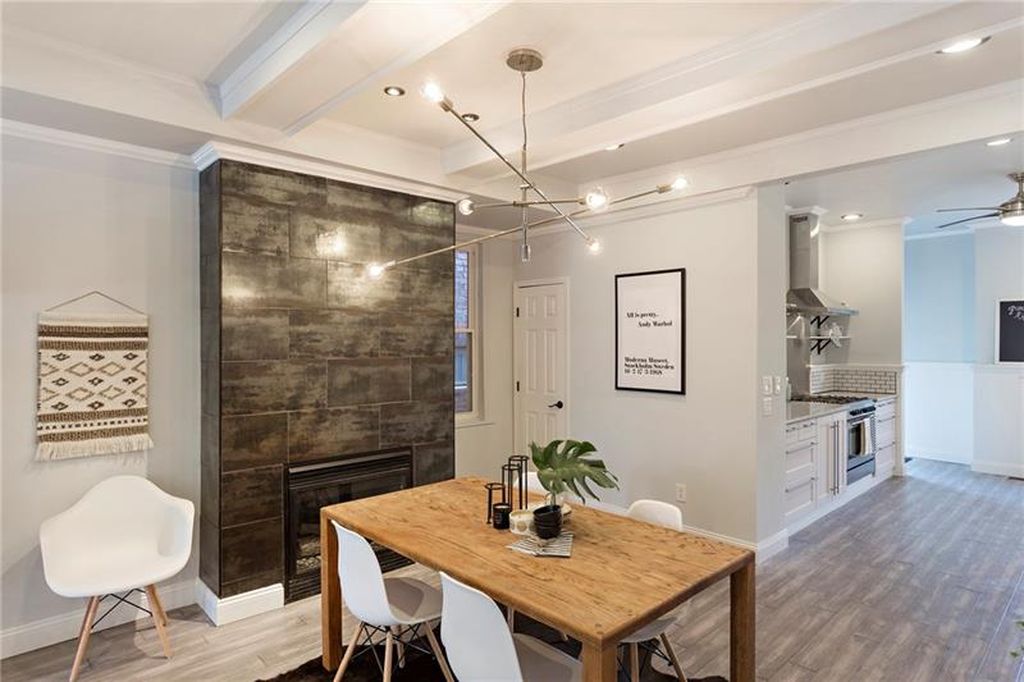
The contractor did a good job finishing up what we started. It may not be apparent from this photo but the only thing the contractor changed in this room was adding the trim, and removing the ceiling fan which they replaced with the light fixture seen in this picture.
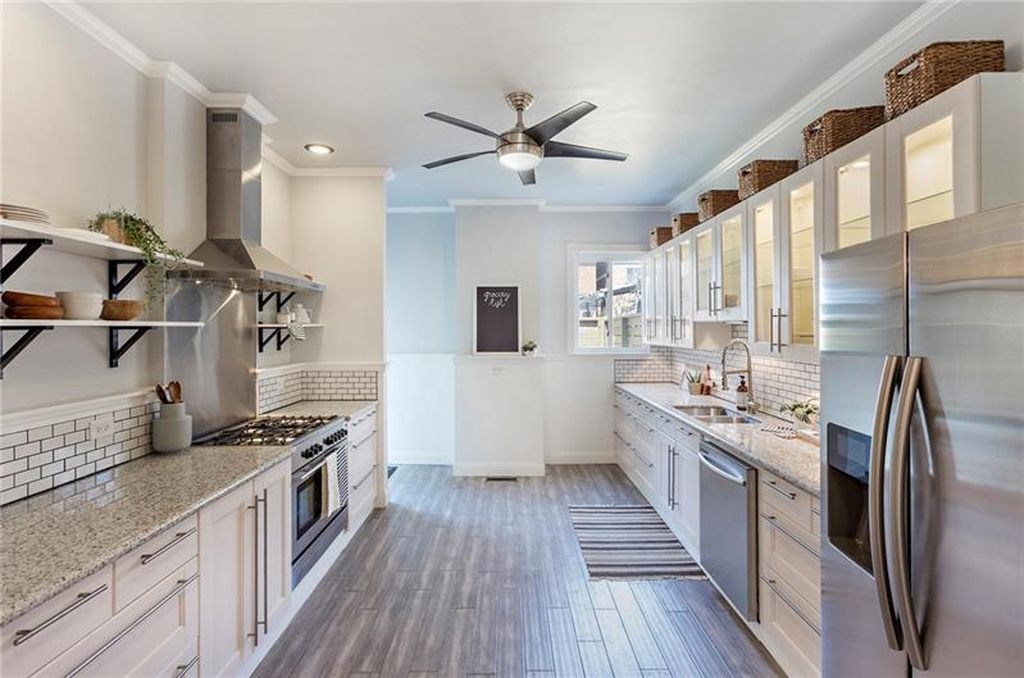
The contractor did an amazing job re-finishing this space with granite counter tops we could not afford when we first renovated the kitchen, adding additional shelving, and adding additional recessed lighting that we had neglected to include in our original re-design.
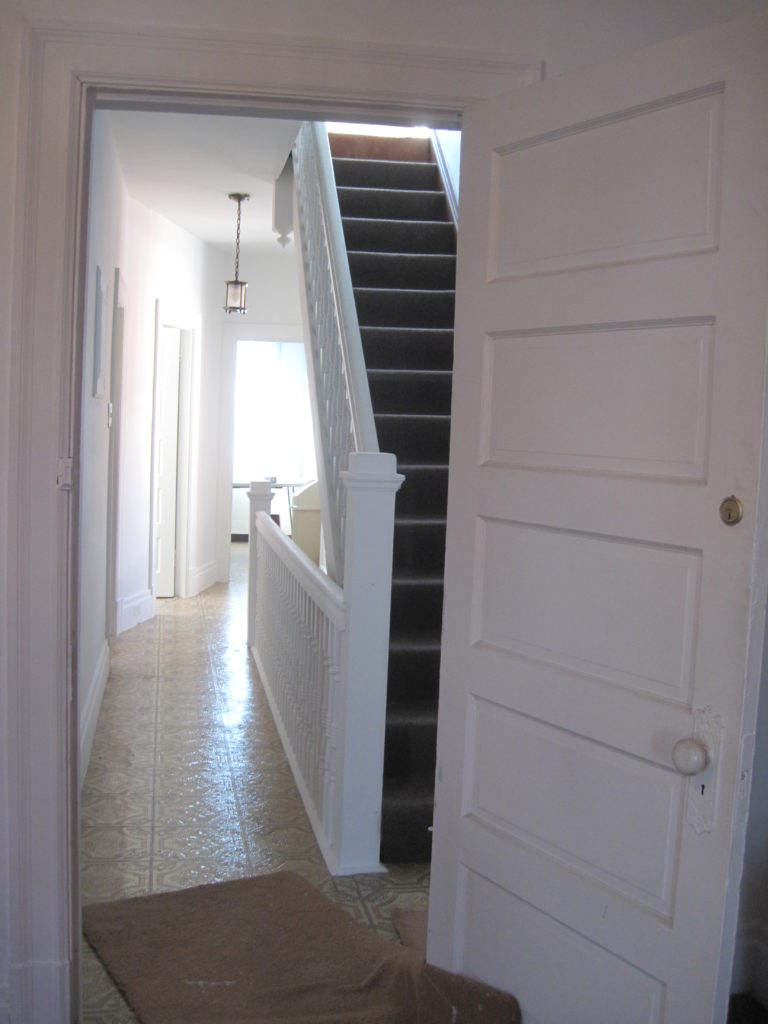
Stairs
Although the final railing was a contractor design we did tear out that wall and add the enclosed basement entrance under the stairwell.
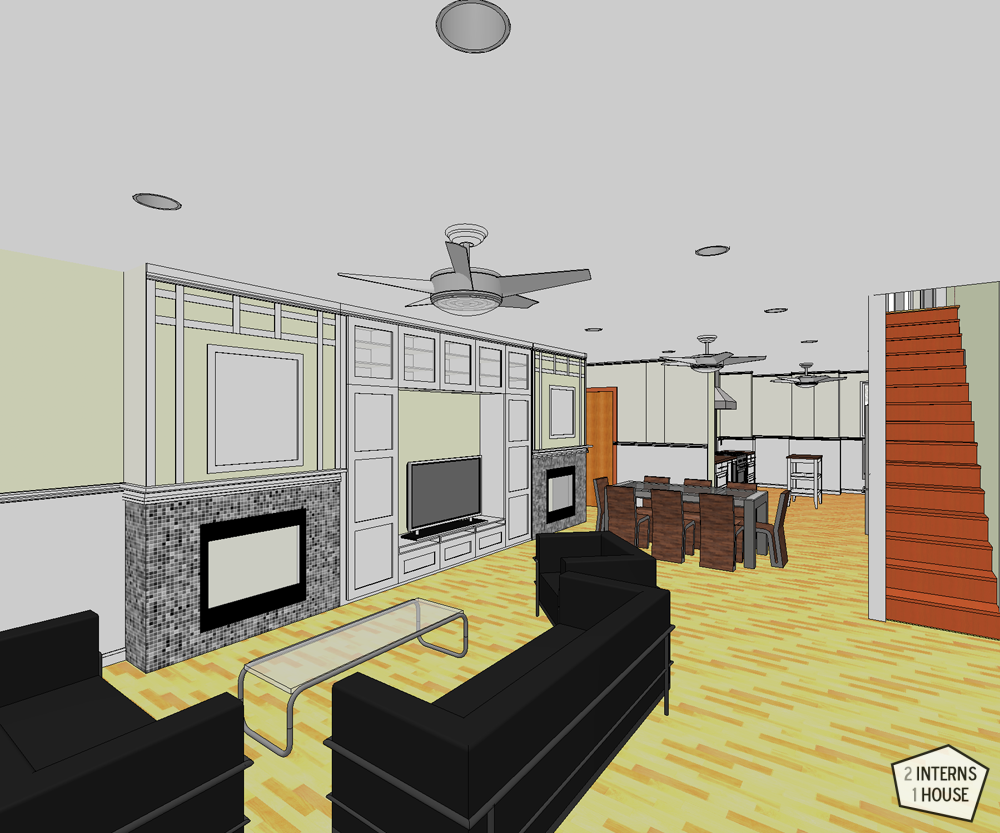
The Plan
2nd Floor
The second floor was destined to remain divided into smaller rooms but the sizes were all wrong. We started with three bedrooms and one bathroom and converted the floor to a two bathroom three bedroom space. Shall I repeat? Within the same foot print we added an entire extra bathroom simply by using space better. Not only that but we also made the hallway much nicer.
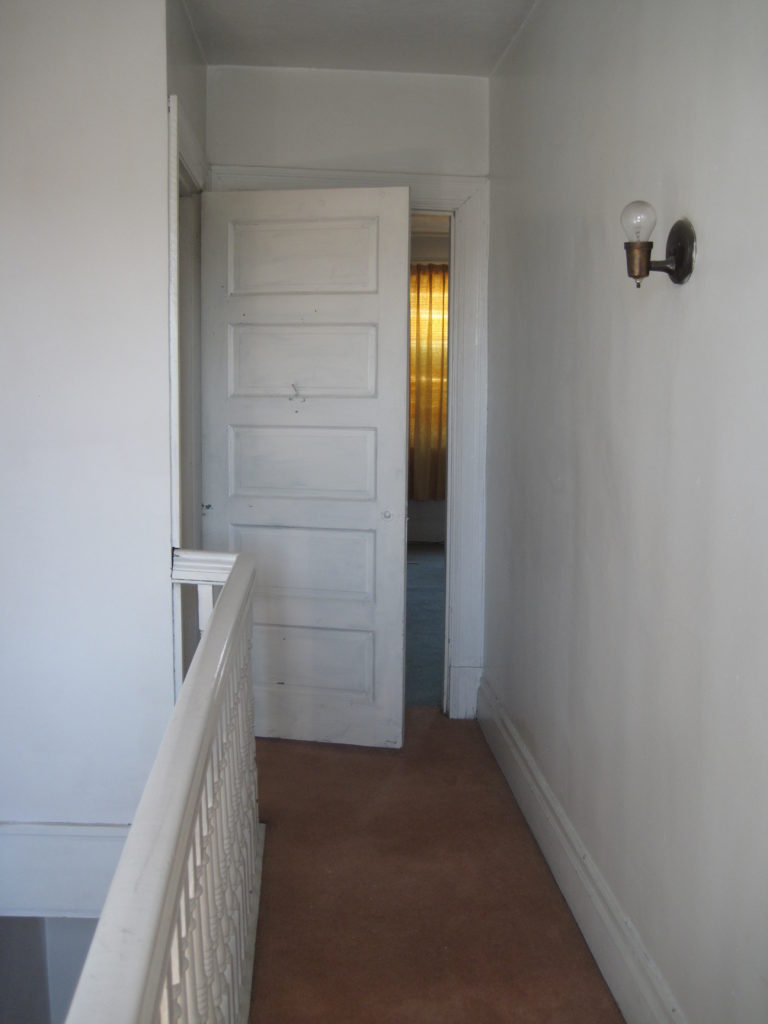
2nd Floor Hallway
When I say we moved walls… I mean we literally moved every wall… Well, more like tore down and re-built every wall because lets face it… this hallway is made for people from over 100 years ago.
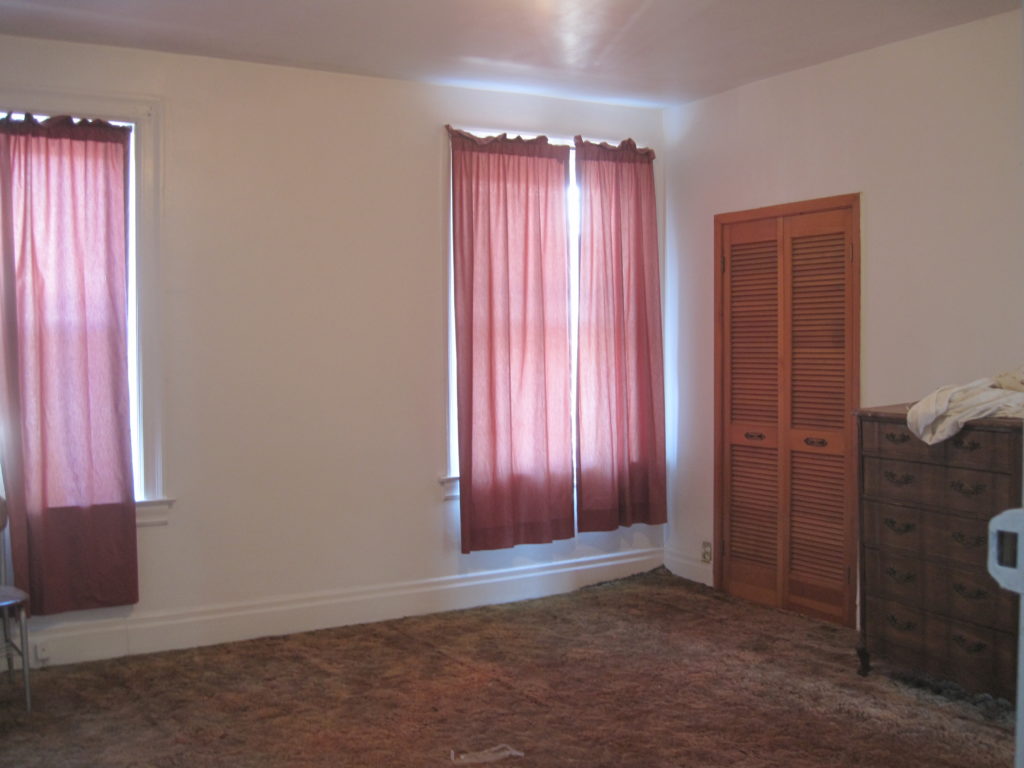
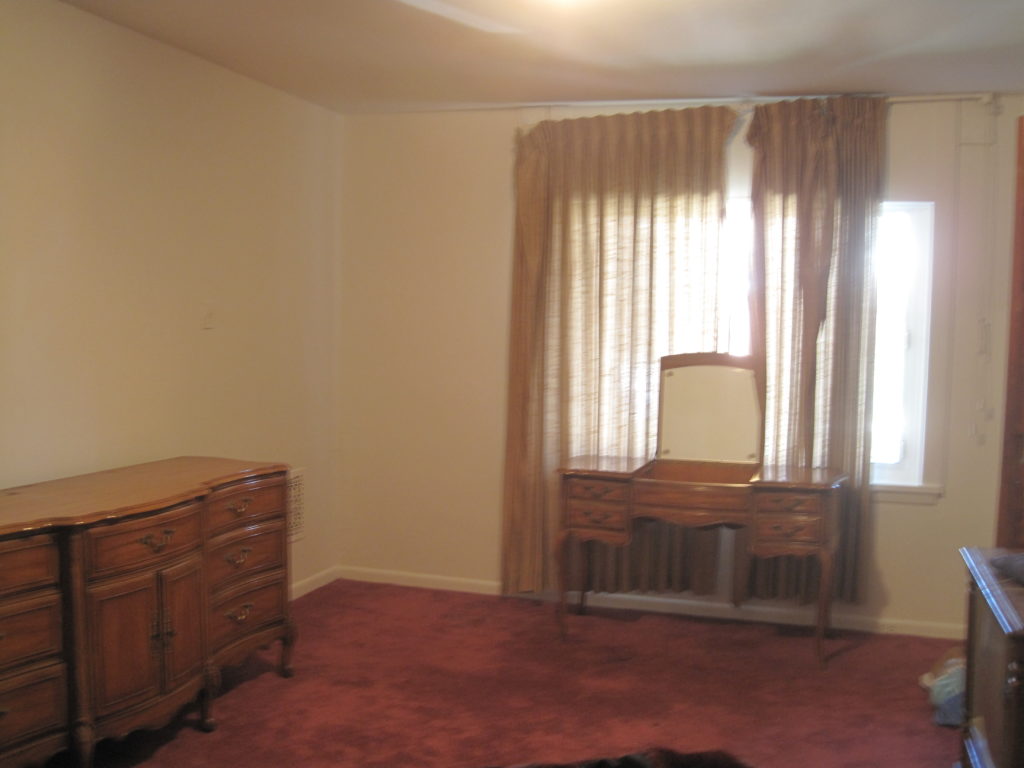
Front Bed
The front bedroom was excessively spacious for a secondary bedroom and we used that extra space to give back to the hallway and add a second bathroom.

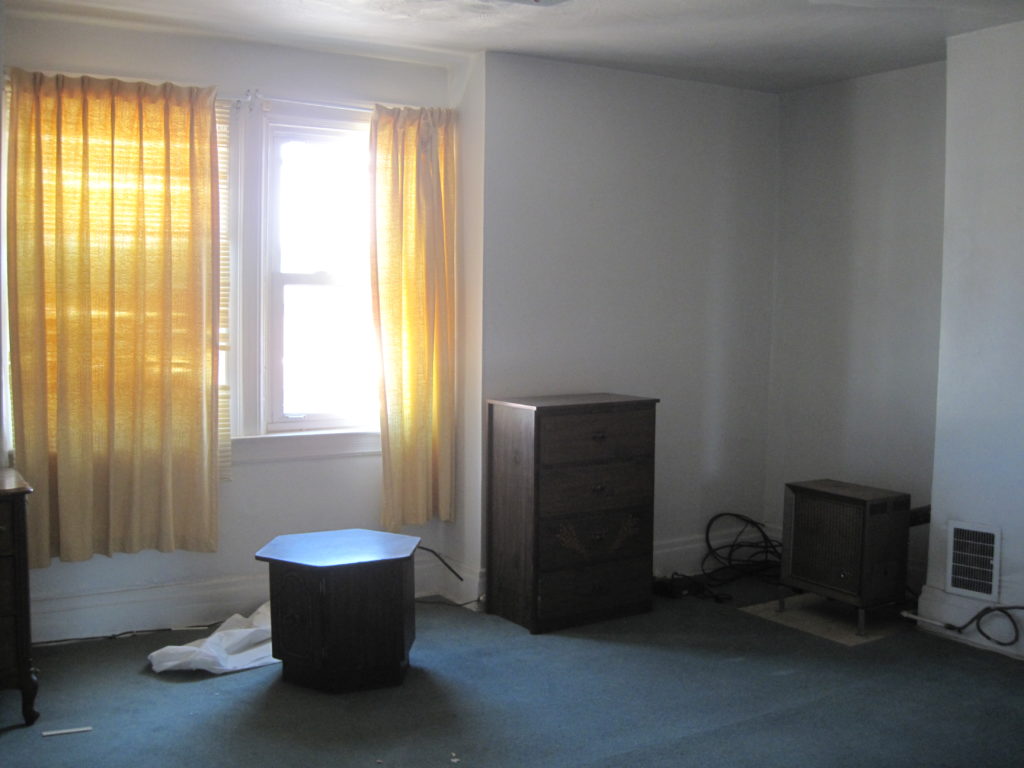
Middle Bed
This bedroom was not too bad to begin with and ended up being only a little smaller than it was originally.

Back Bed…
Wait… that’s a bedroom? Yup, we had some work to do. This kitchen didn’t make the cut.
Shared Bath
… and neither did this bathroom which we tore out to add more space to the back kitchen… ahem I mean back bedroom.
and Boom!
And… gone. You can see downstairs on the bottom left and the stairs that go up to the third floor as well. With all the walls gone this floor was actually lit pretty well because of the decently sized and well spaced windows. Alas this beautiful light was to be blocked once again.
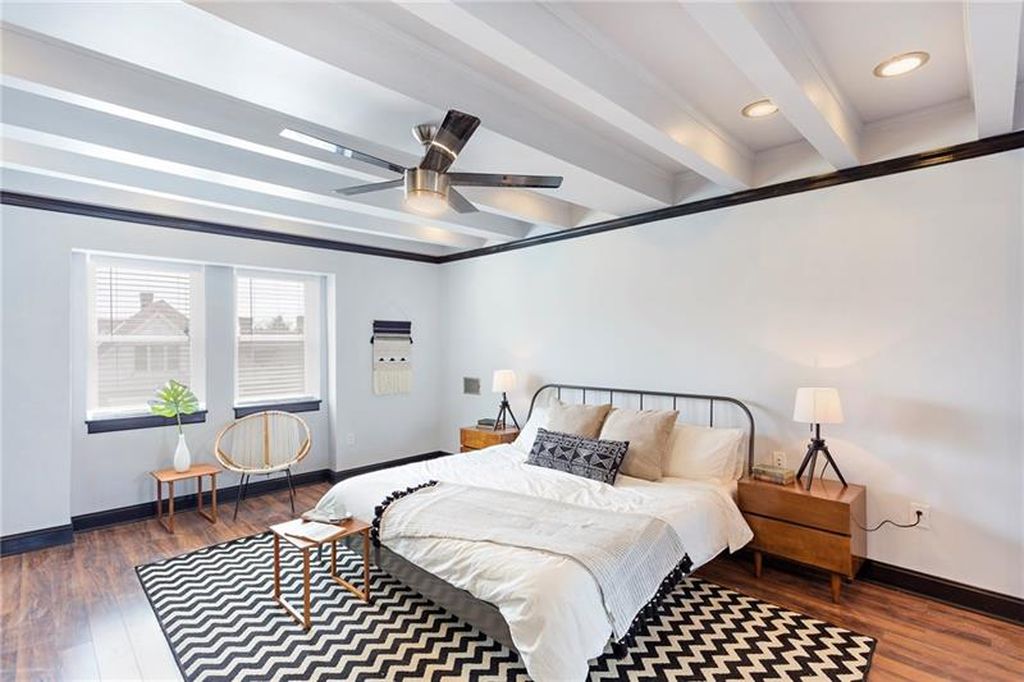
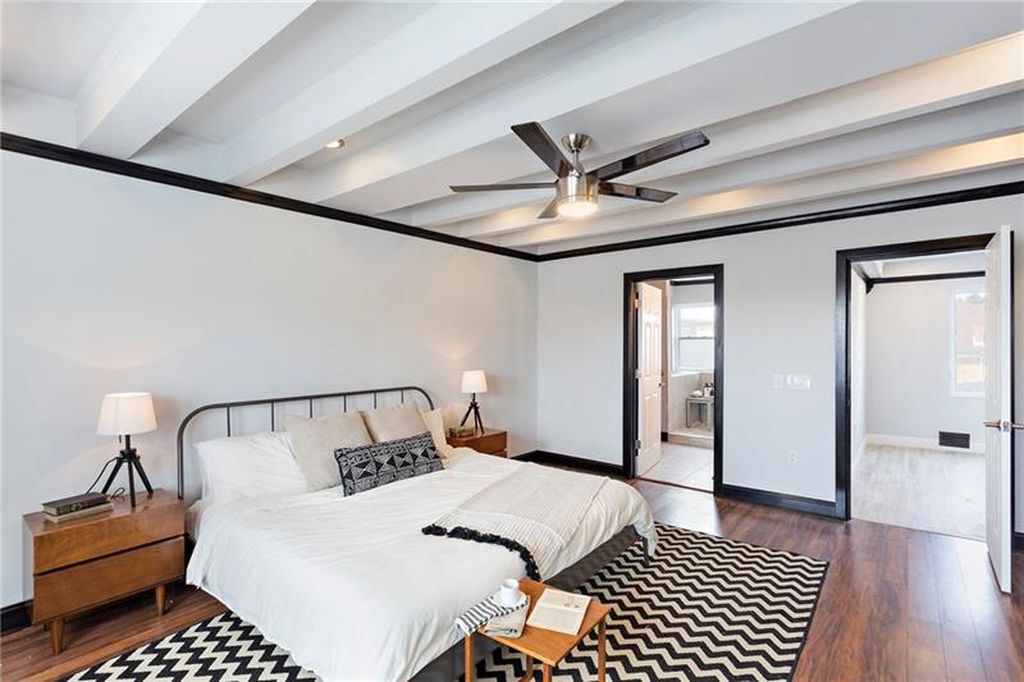
Front Master Bedroom
Yup, that’s the same one. And it still has a queen sized bed in it. That’s how excessive the original front bedroom was. But now it carries the title “Master”?
Master Bath 2
That front bedroom is the biggest on the second floor. So why not make it special. That’s right. From one over-sized and awkward bedroom to a Master Suite on the second floor. If the rents don’t want to walk all the way up to the third floor… there’s a place for that too. Assuming Johnny lets them stay in his room he fought so hard for.
Middle Bed
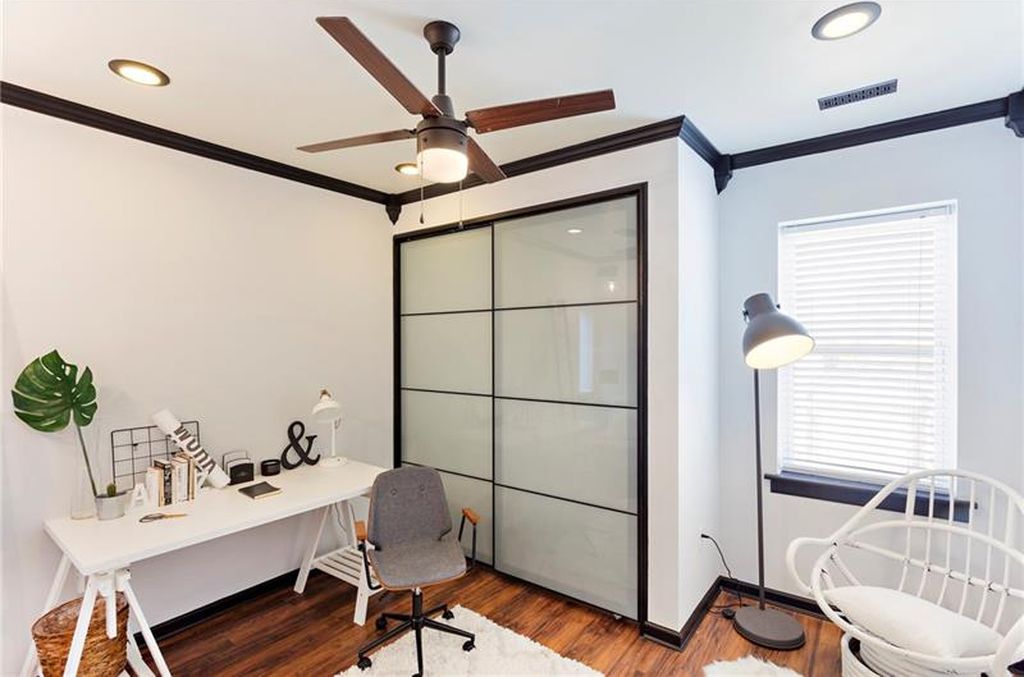
This room went from a medium size down to a small size but was still plenty spacious enough to have a small bedroom, playroom, or office.
Back Bed
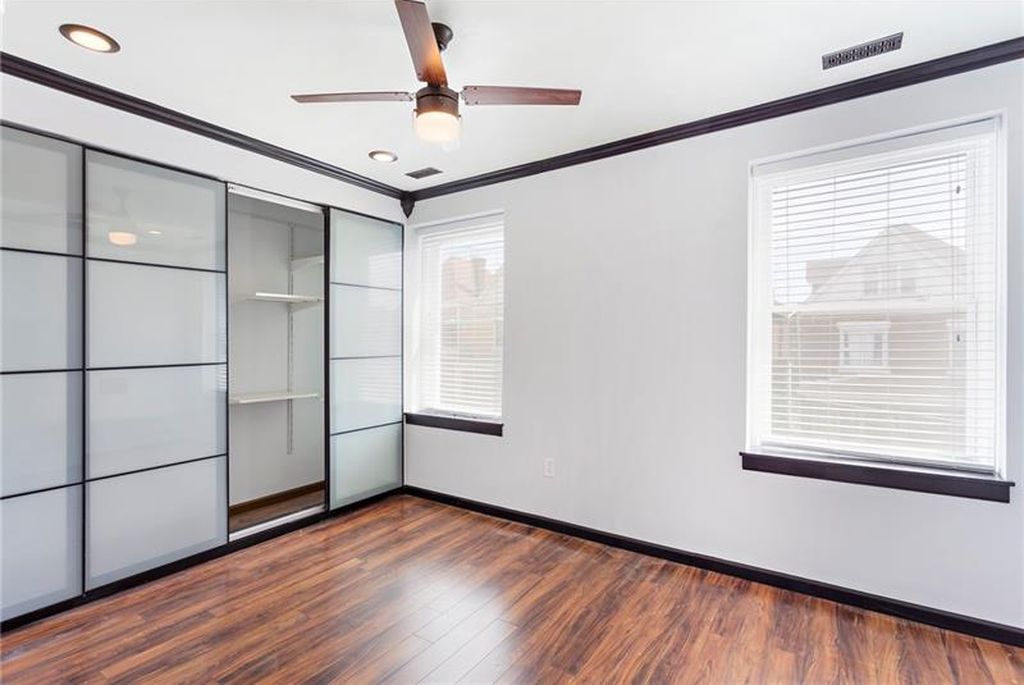
With the kitchen and bathroom gone the back bedroom had enough space to fit a nicely sized closet and a neat nook to tuck in a desk or a twin bed.
Shared Bath
Ok, we didn’t finish this one, but it was close and they used all the finishes and fixture we selected as you will see shortly.
This is what we were going for though… Did a ghost take this photo??? With an invisible camera??? I want one! How much?!.. What’s that you say? Photoshop? Oh. Disappointing.
Front Bed
What happened to the bed in the room? Doesn’t it need a bed to be called a bedroom?
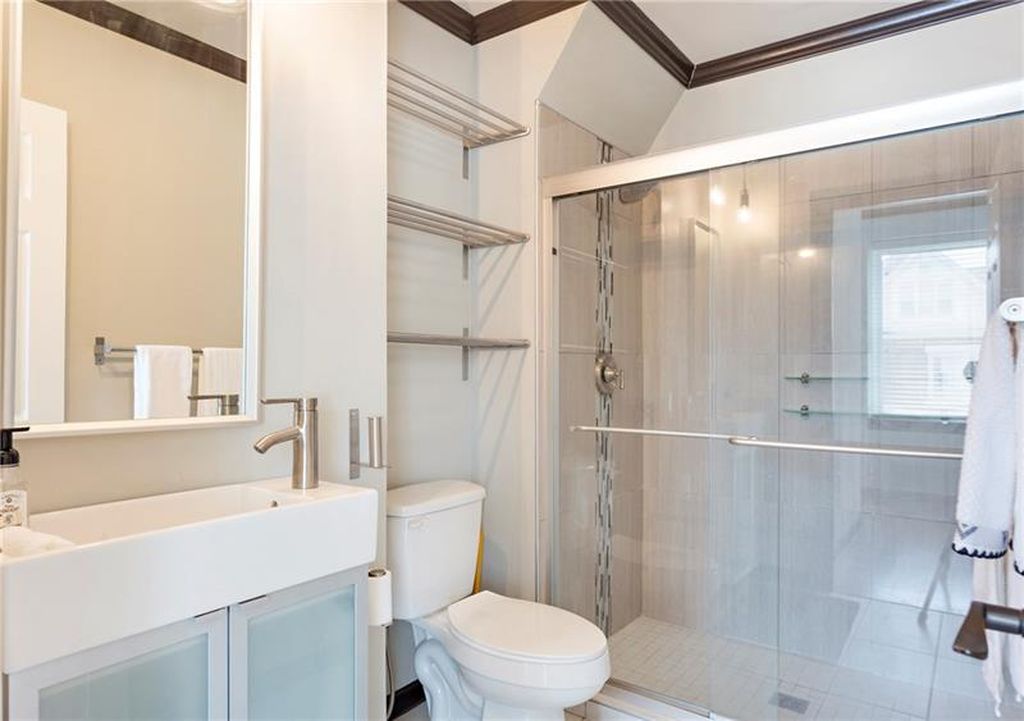
Master Bath
Welp! There’s no more extra toiletries.
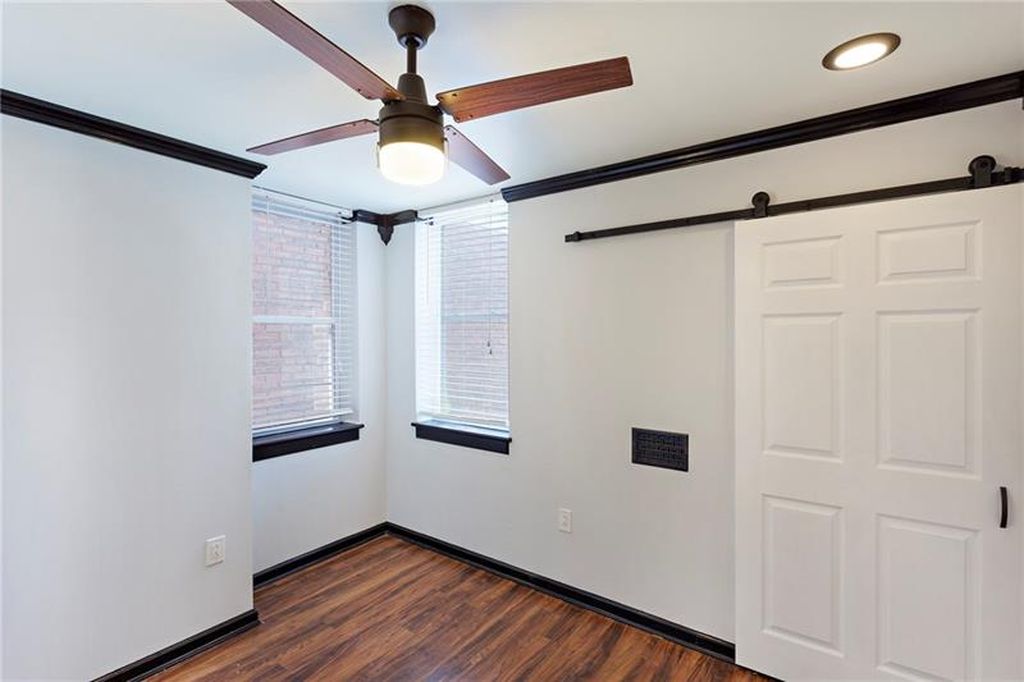
Middle Bed
Not a great view but at least there is daylight in this bedroom.
Back Bed
I suppose it works as an office too.
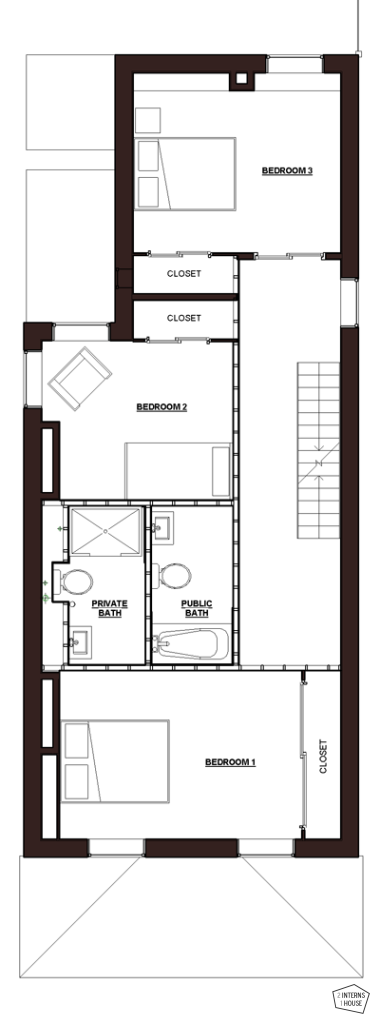
The Plan
This isn’t exactly how it ended up due to a few additional utilities we had to integrate (and doors we had to add… lol) but this first (or second) pass was pretty close to what we ended up with and shows how we were able to fit an entire additional bathroom in the same amount of space and make the hallway much easier to move furniture through. That’s what architects do all the time.
3rd Floor (Master Bedroom Suite)
The third floor is a capstone example of a great way to re-use the same amount of space and add value with the minimum amount of well placed walls.
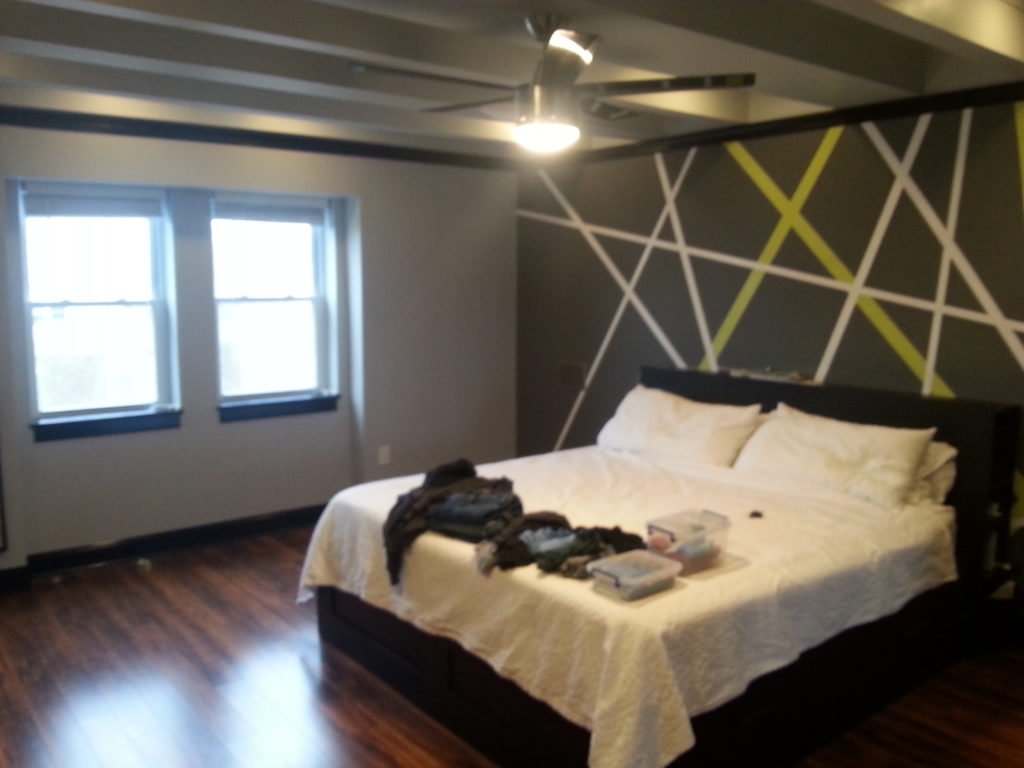
Bedroom
On the third floor there was a bedroom. The ceiling had evidence of water leakage and the carpet was definitely more than a decade old… We of course tore that out immediately.
Hallway
And this is how the entrance to that bedroom looked before.
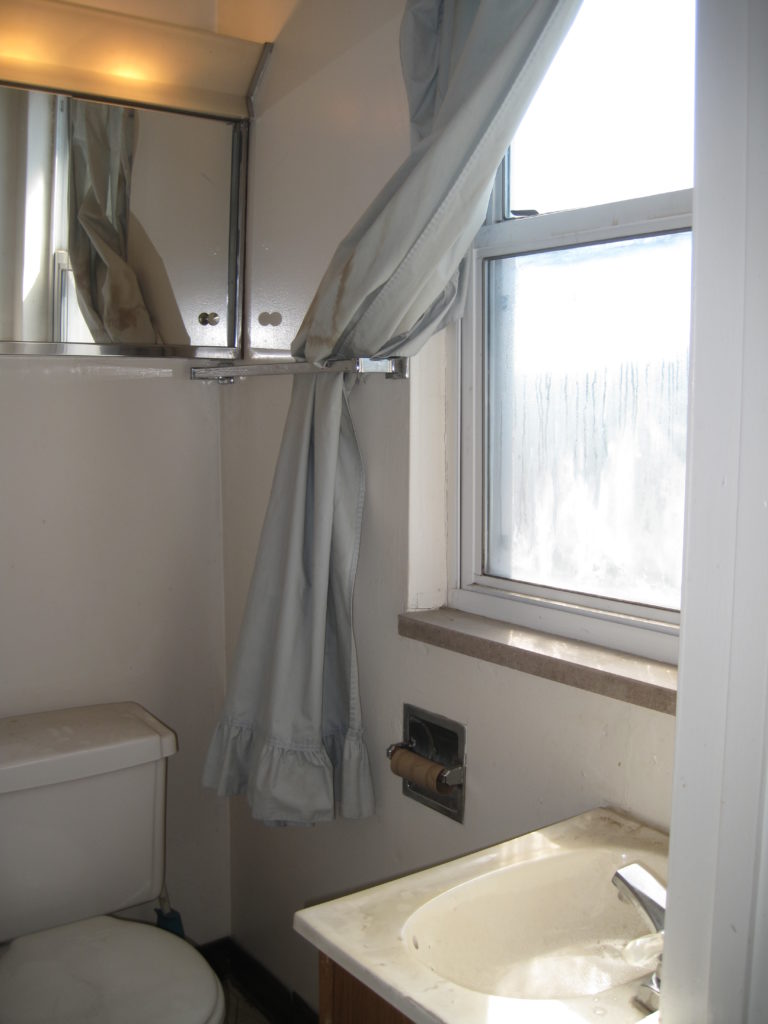
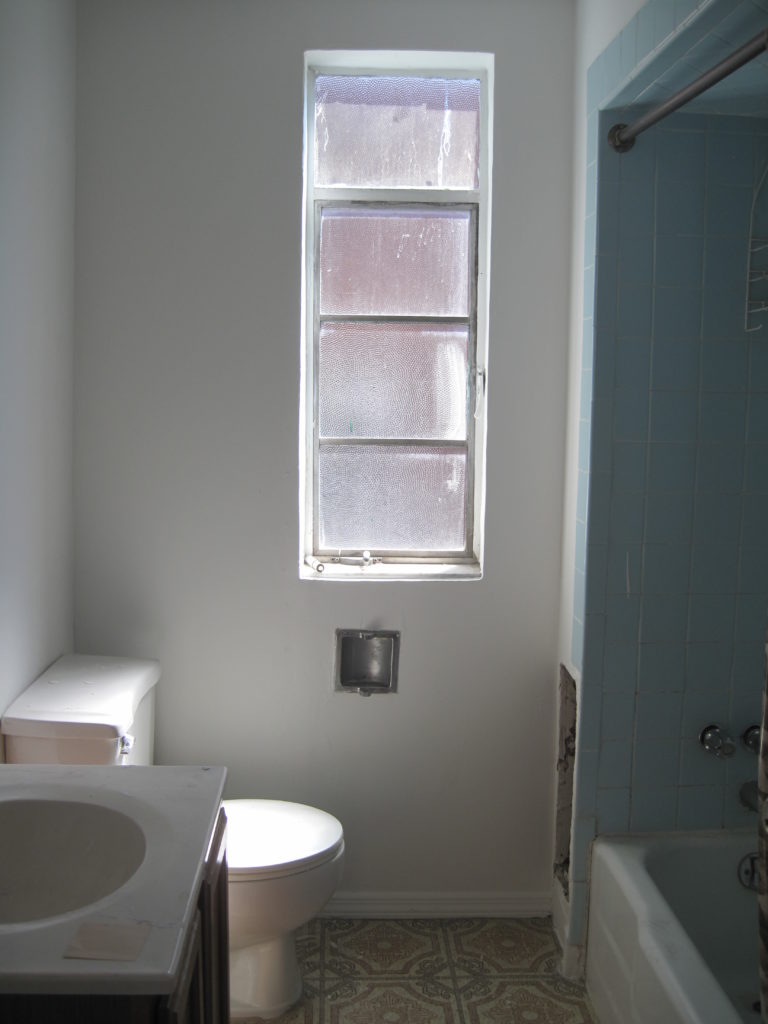
Bathroom
And the “ensuite” bathroom was just a little cramped… I couldn’t even take a photo of the whole thing because it was so small. Let’s not talk about the electrical.
Unfortunately I don’t have a picture of the kitchen they had on the third floor. Needless to say it was of a similar quality to this one on the second floor and we removed it entirely.
Perhaps you got the idea already but it might be worth mentioning that the folks before us had converted this former single family home into a three flat with one apartment on each floor. So we definitely had to tear out some walls and re-do some plumbing to make the third floor a legit master suite.
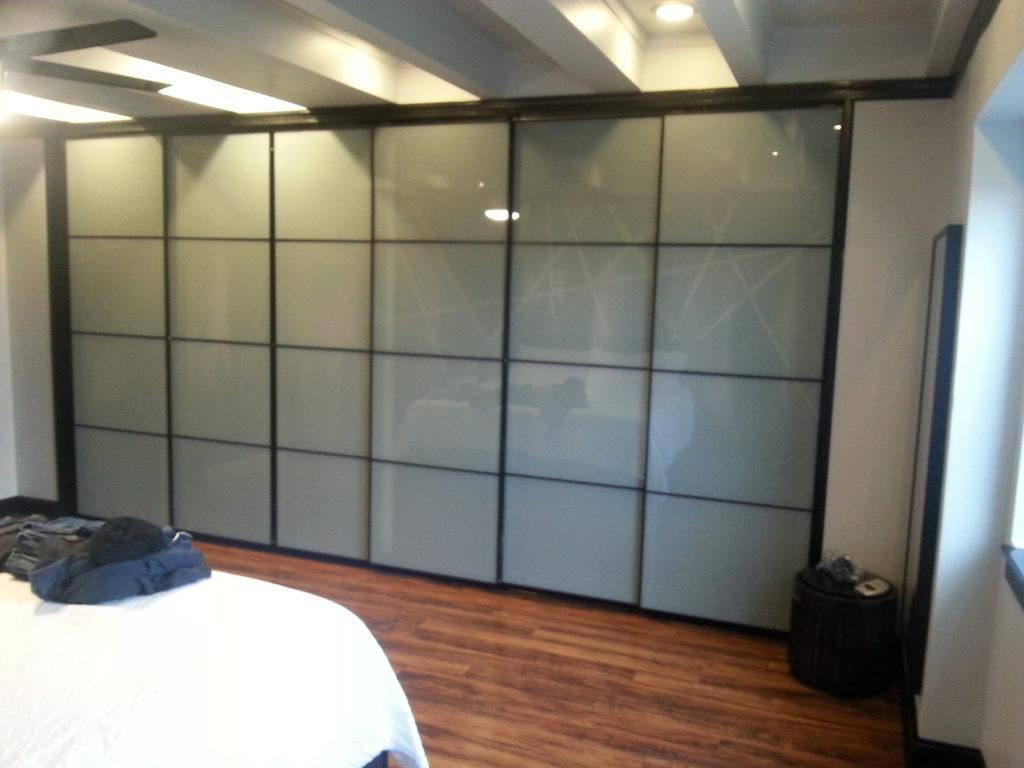
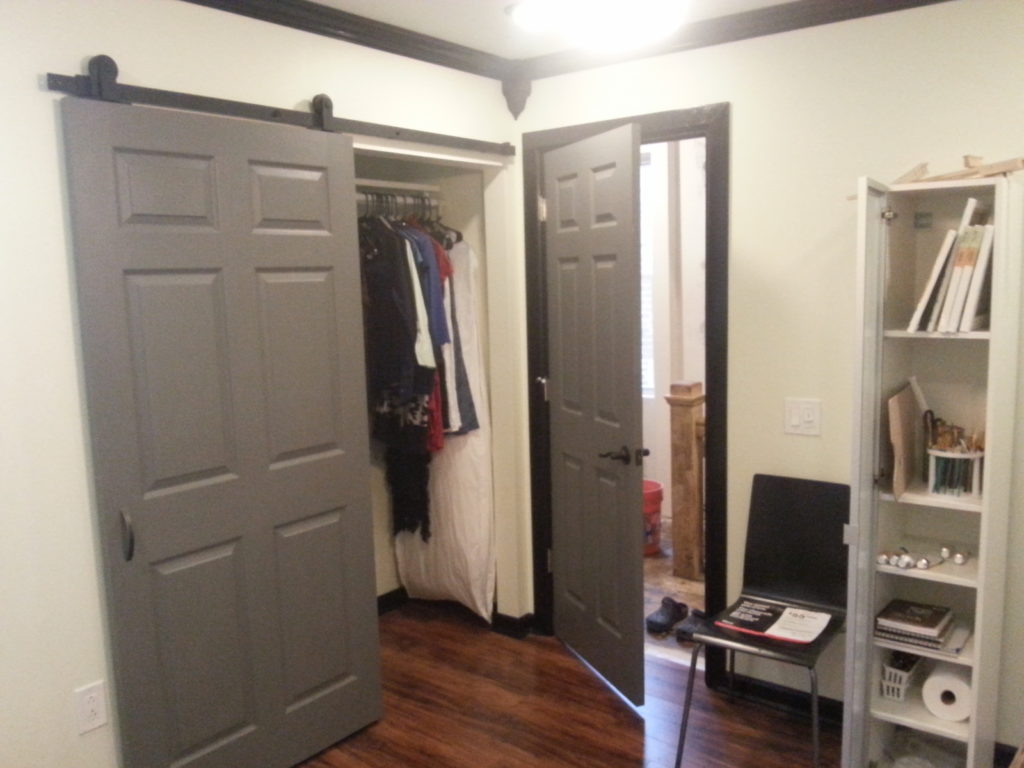
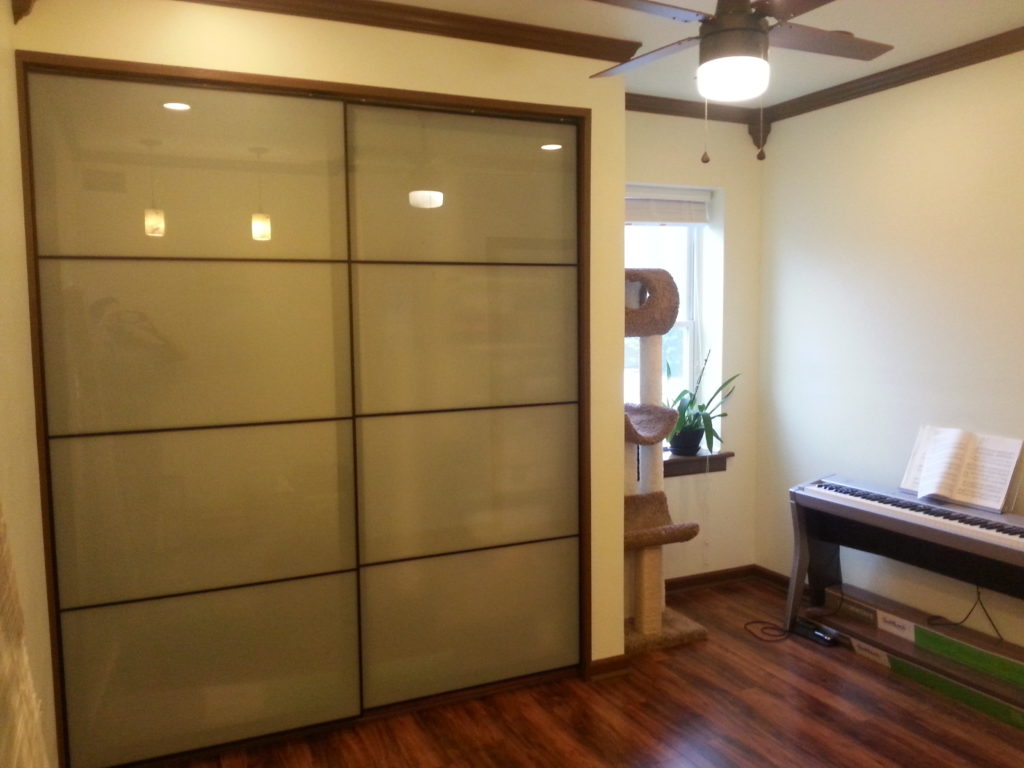
Opposite to the bed we added a full size closet instead of a walk-in closet which would have blocked much more daylight and made the space too dark.
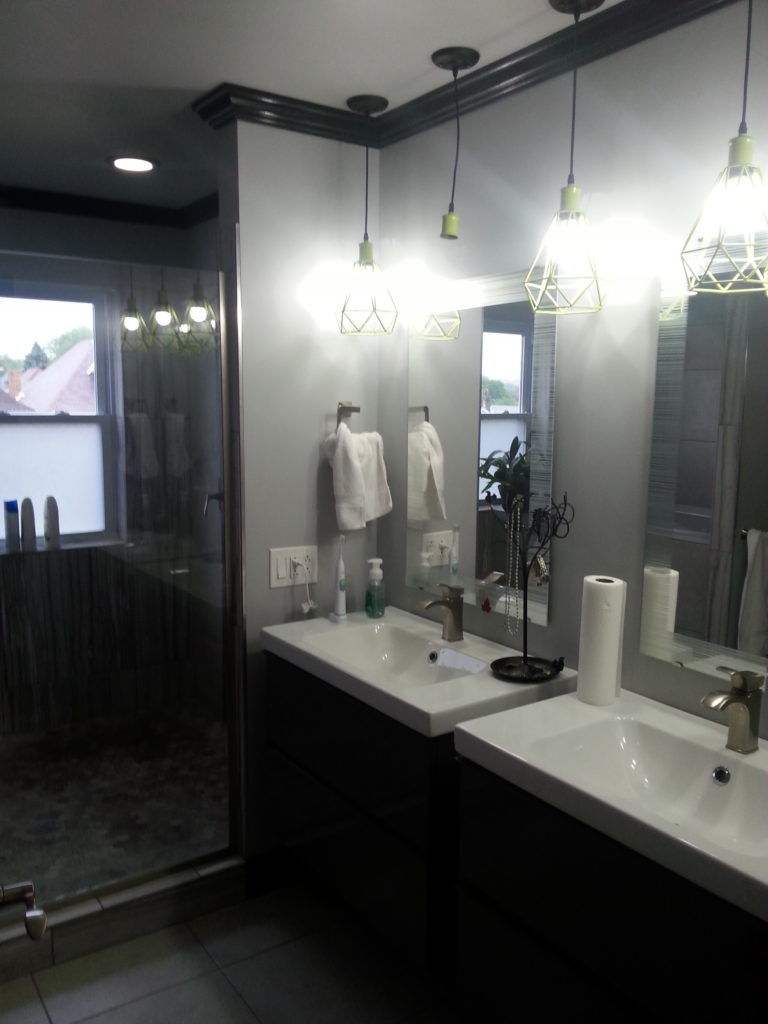
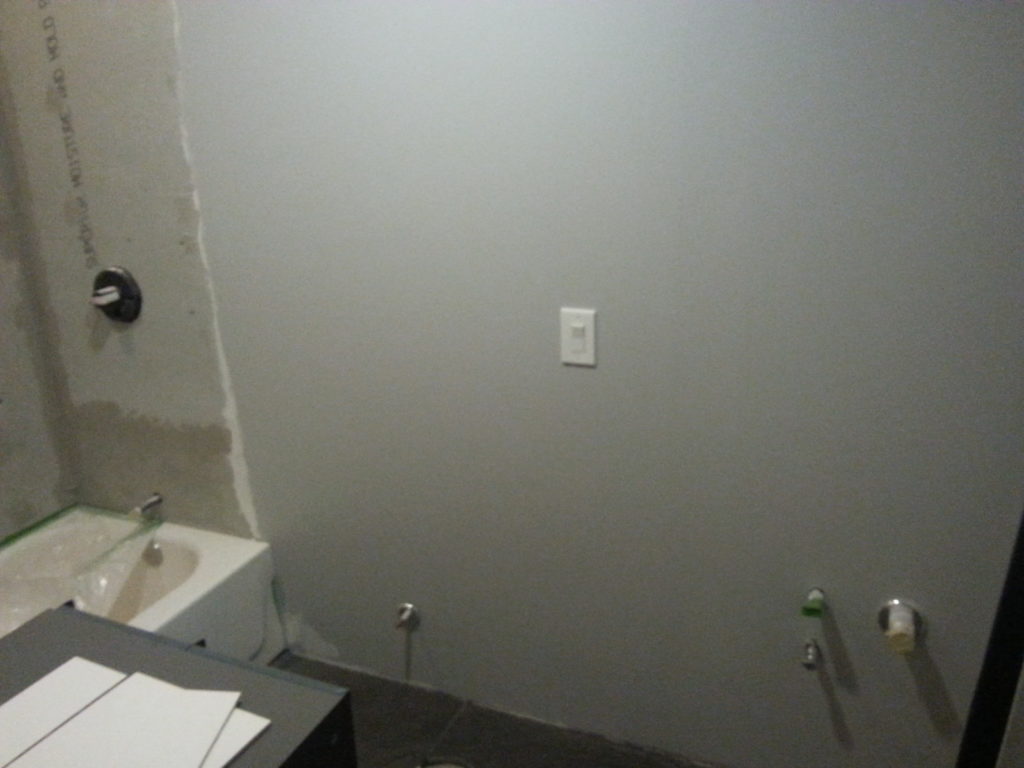
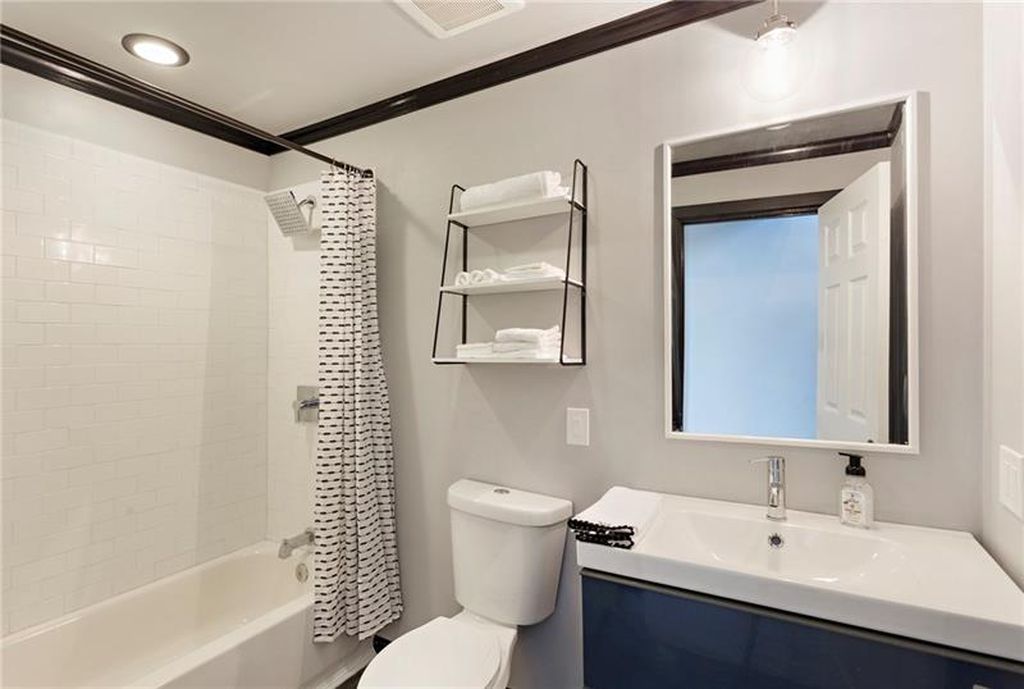
Master Bathroom
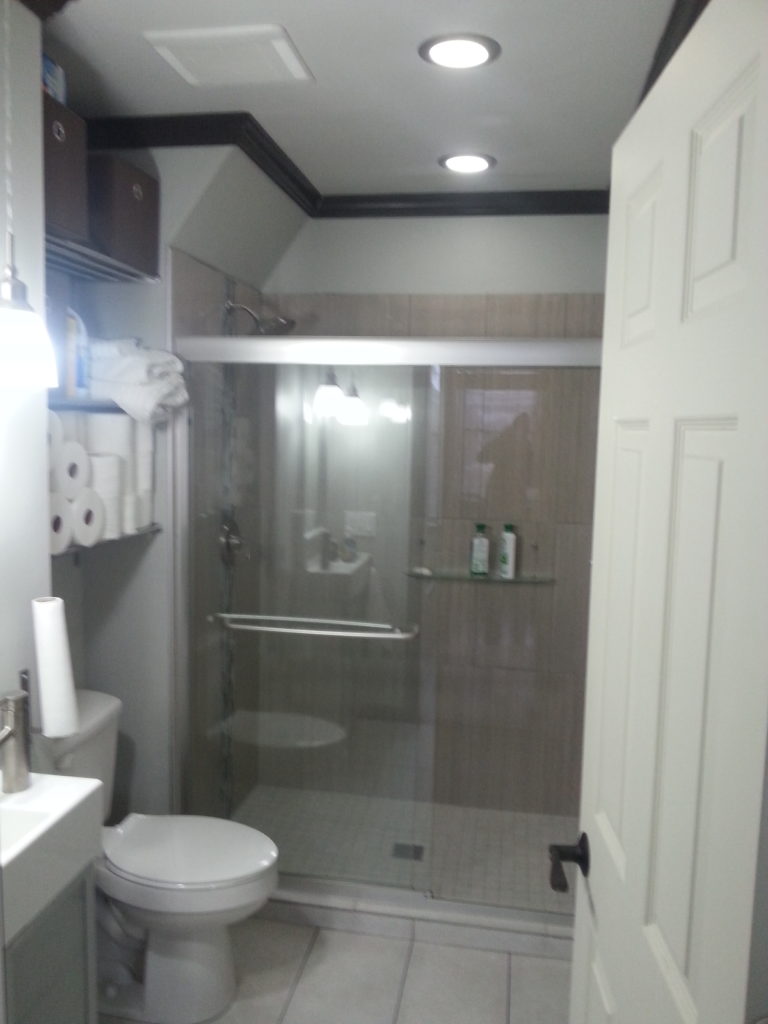
Yes the lighting for this picture was not done properly but I ensure you this was a well lit space compared to what was there before. We only had two small windows to light the entire bathroom and we kept the plan as open as we possible could.

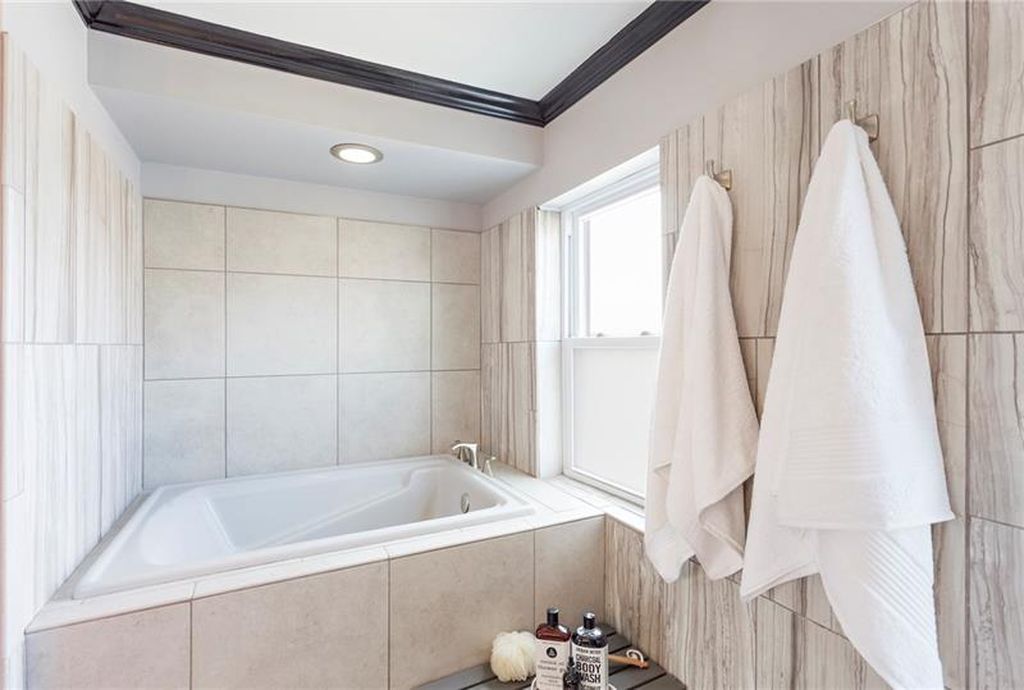
Oh… did I mention we put in a Japanese soaking tub?
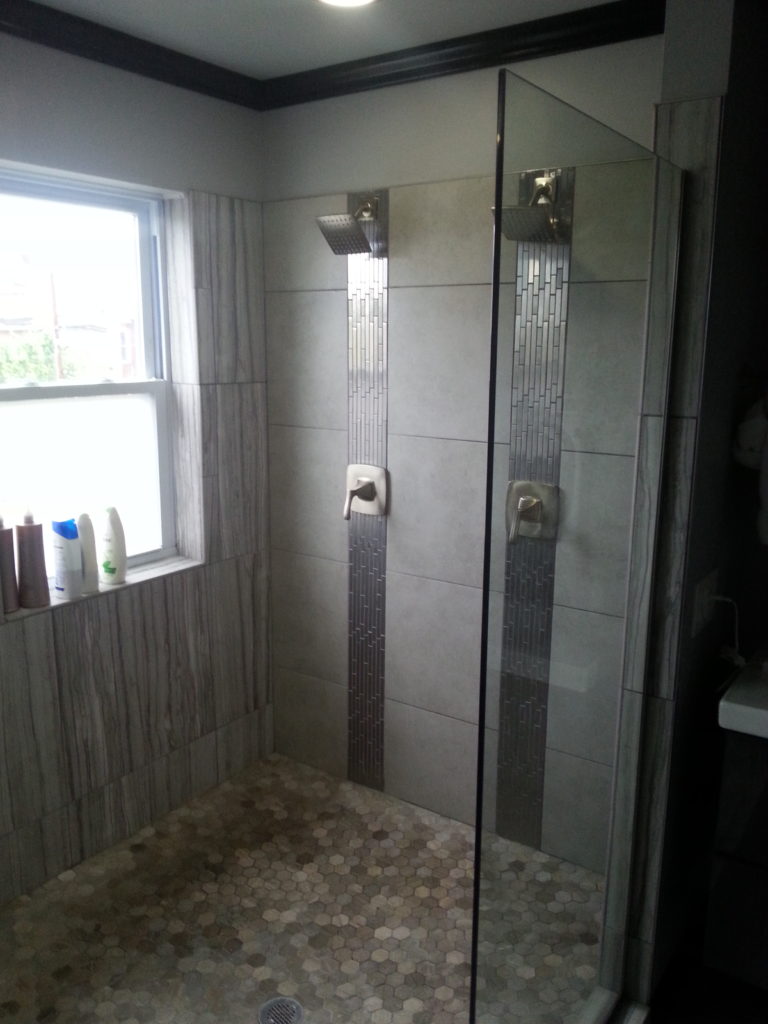
And a double shower?
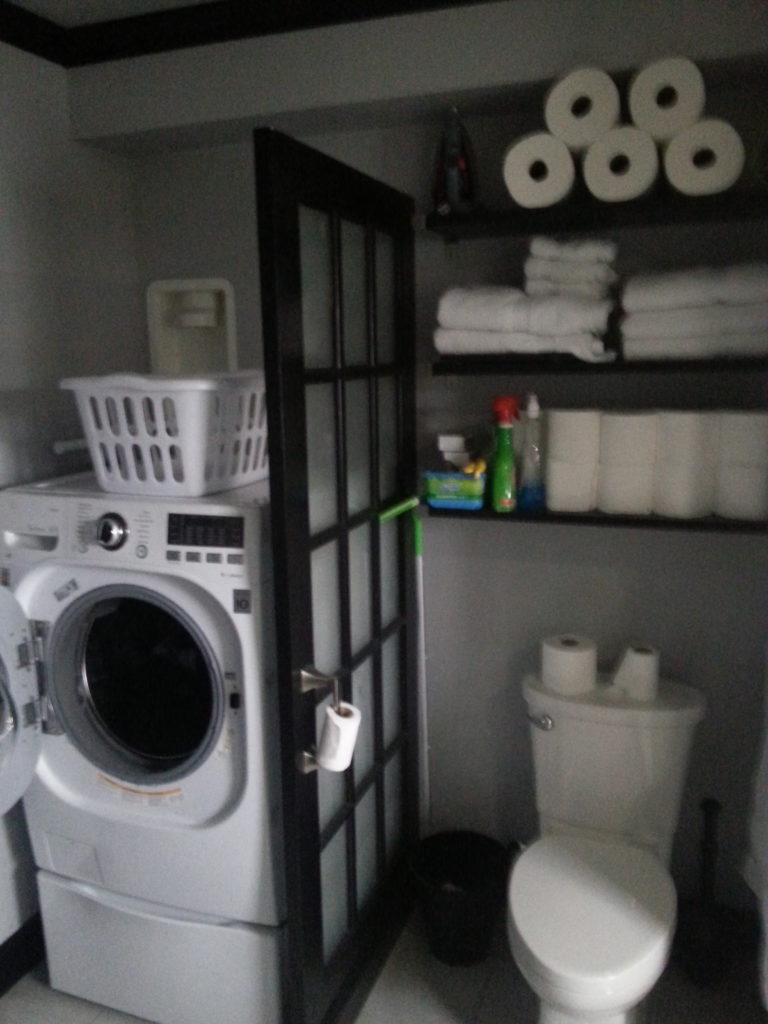
Oh… wait one more thing… and a combined washer/dryer unit?
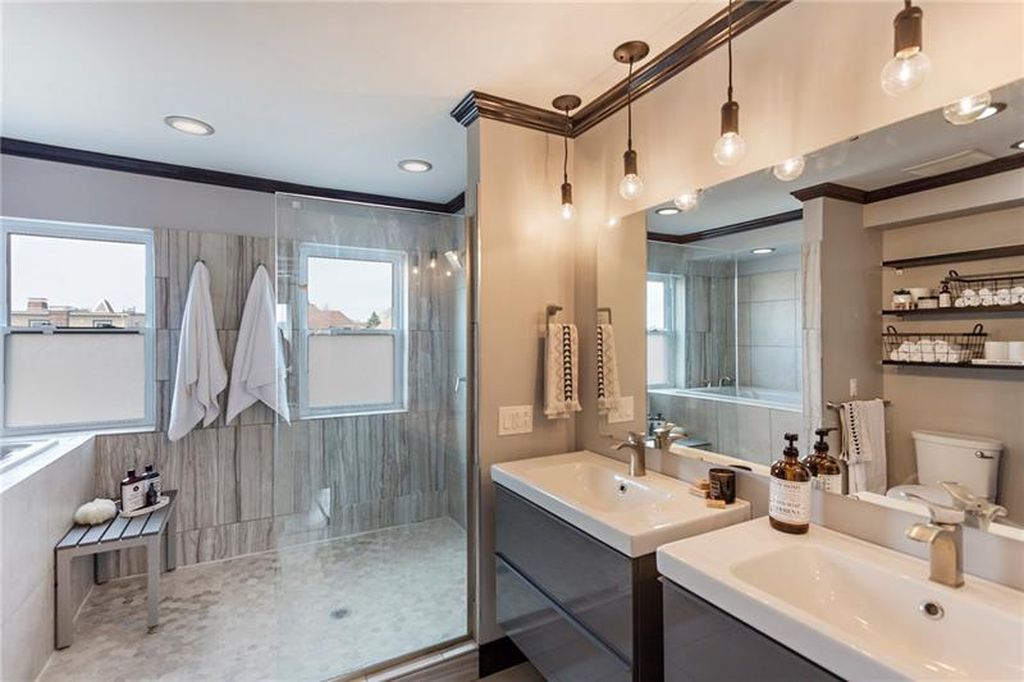
Of course professional photography shows what this space really looked like in person much better than my crappy photos. As you can see the only thing the contractor changed was the light fixtures and bulbs.
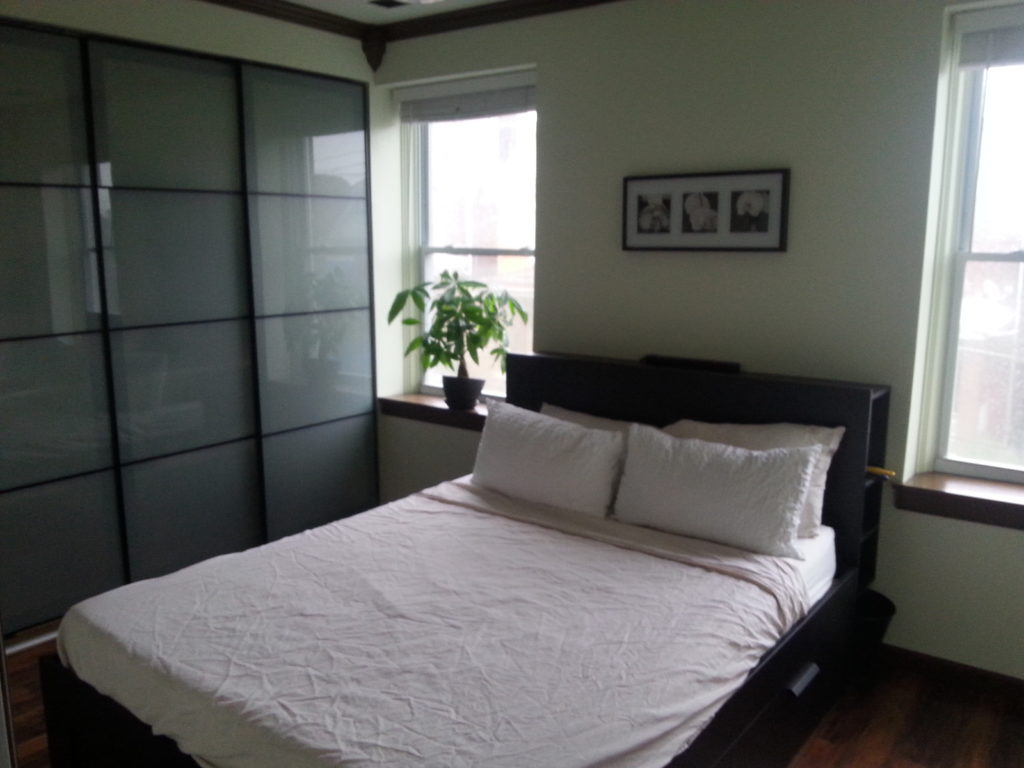
No change here but definitely a better photograph with better furnishings.
These professional photographs also shows what a difference one wall can make when your windows are too small for your space.
Here you can see how the bedroom connects with the bathroom and its entrance from down stairs.
And that’s all folks!